

-
Welcome to Tacoma World!
You are currently viewing as a guest! To get full-access, you need to register for a FREE account.
As a registered member, you’ll be able to:- Participate in all Tacoma discussion topics
- Communicate privately with other Tacoma owners from around the world
- Post your own photos in our Members Gallery
- Access all special features of the site
 Opinions shimmy and washing mitts
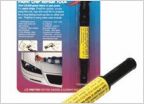 Fixing rock chips/rust pinholes
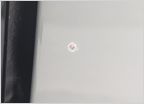 Possible rock chip on tailgate?
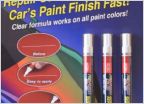 Scratches in paint
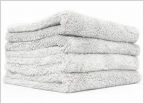
 Microfiber recommendations?
 Truck cover for new Tacoma, suggestions? Minnesota vehicle will have to be parked outside.
Casper's DIY Paint Repair
Discussion in 'Detailing' started by Casper66, Sep 28, 2017.
Page 1 of 4
Page 1 of 4


