

-
Welcome to Tacoma World!
You are currently viewing as a guest! To get full-access, you need to register for a FREE account.
As a registered member, you’ll be able to:- Participate in all Tacoma discussion topics
- Communicate privately with other Tacoma owners from around the world
- Post your own photos in our Members Gallery
- Access all special features of the site
 How do I know if I need a relay?
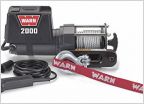 Adding wiring for a bed winch -- fuse and ground location questions
 [HOW-TO]: LED Strip Lighting For Roof Top Tent (RTT)
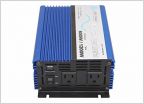 Pure Sine Wave Inverter
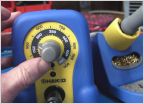 What soldering iron are you using?
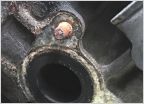 How to remove the exhaust manifold studs?
Hard Wiring Wet Okole Seat Heaters
Discussion in 'Technical Chat' started by Npax2, Jun 10, 2017.


