

-
Welcome to Tacoma World!
You are currently viewing as a guest! To get full-access, you need to register for a FREE account.
As a registered member, you’ll be able to:- Participate in all Tacoma discussion topics
- Communicate privately with other Tacoma owners from around the world
- Post your own photos in our Members Gallery
- Access all special features of the site
 Fog on w/ high beam using SP9100
 Tailgate Insert
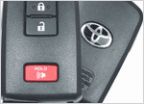 Replacement Key Fob - Aftermarket Solutions?
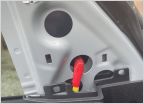 Help finding door part
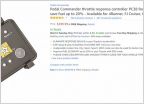 Pedal Commander, What the heck is this? Is this for real?
PowerTray and S-Tech Install
Discussion in '3rd Gen. Tacomas (2016-2023)' started by max_o, Jan 19, 2019.
Page 1 of 3
Page 1 of 3

