

-
Welcome to Tacoma World!
You are currently viewing as a guest! To get full-access, you need to register for a FREE account.
As a registered member, you’ll be able to:- Participate in all Tacoma discussion topics
- Communicate privately with other Tacoma owners from around the world
- Post your own photos in our Members Gallery
- Access all special features of the site
 Subwoofer options for 1st gen Double Cab?
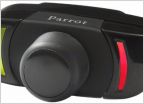 Where can i buy a bluetooth system
 Best Aftermarket Short Antenna
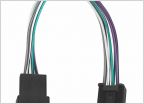 Trying to identify power and ground for '22 non JBL radio
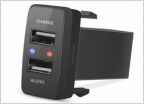 Crutchfield
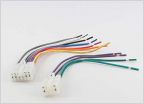 ReCurve EZQ Wire Harness System to Bit ten processor
Installing Mr.Marv Box's, Arc Amps, DC Subs, AudioFrog and more!
Discussion in 'Audio & Video' started by override, Feb 10, 2019.
Products Discussed in


