

-
Welcome to Tacoma World!
You are currently viewing as a guest! To get full-access, you need to register for a FREE account.
As a registered member, you’ll be able to:- Participate in all Tacoma discussion topics
- Communicate privately with other Tacoma owners from around the world
- Post your own photos in our Members Gallery
- Access all special features of the site
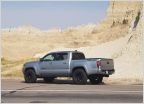 Silver Sky Sporty
 Pathunpaved's 3rd Gen DCSB
 Possible Money Pit
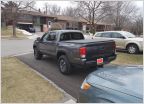 Build
Build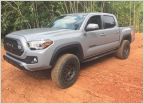 Jerzsubbie's 2018 Cement DCSB TRD OR **Lots of PICS & Links**
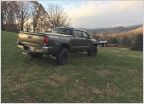 VTTaco97 2018 Double Cab Long Bed OffRoad Build Thread
Paul’s Inferno Build/Ownership Log/Photo Dump Thread
Discussion in '3rd Gen. Builds (2016-2023)' started by Blackwolf, Feb 19, 2019.
Page 1 of 2
Page 1 of 2


