

-
Welcome to Tacoma World!
You are currently viewing as a guest! To get full-access, you need to register for a FREE account.
As a registered member, you’ll be able to:- Participate in all Tacoma discussion topics
- Communicate privately with other Tacoma owners from around the world
- Post your own photos in our Members Gallery
- Access all special features of the site
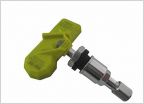 Oro-Tek TPMS Sensors
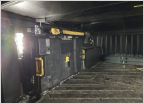 Viair 88P air compressor
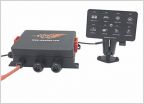 Differences in switch panels
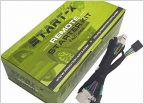 Remote start
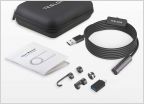 3rd Generation USB Borescope, Teslong Auto Focus Endoscope Camera with 5.0 Megapixels FHD Micro Insp
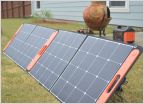 Jackery Explorer Portable (Solar) Power Station and SolarSaga Solar Panels
Installing MeSoJDM's Custom Lower Switch Panel
Discussion in 'Product Reviews' started by destin_meeks, Mar 15, 2018.
Page 3 of 4
Page 3 of 4


