

-
Welcome to Tacoma World!
You are currently viewing as a guest! To get full-access, you need to register for a FREE account.
As a registered member, you’ll be able to:- Participate in all Tacoma discussion topics
- Communicate privately with other Tacoma owners from around the world
- Post your own photos in our Members Gallery
- Access all special features of the site
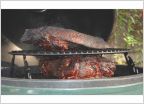 New Green Egg Owner...now what?!
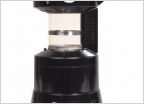 Any coffee heads?
 Bacon explosion!!!
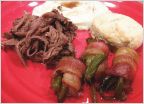 Tacoma World Cook-Off - Open Category - Closed - Congrats medic2230!
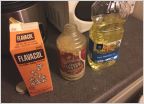 DIY Homemade Movie Theater Popcorn
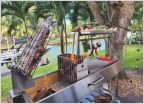 School me on Argentine/Santa Maria grills
Knaack box parilla build
Discussion in 'Food Talk' started by Poindexter, Jul 22, 2020.
Page 1 of 2
Page 1 of 2


