-
Welcome to Tacoma World!
You are currently viewing as a guest! To get full-access, you need to register for a FREE account.
As a registered member, you’ll be able to:- Participate in all Tacoma discussion topics
- Communicate privately with other Tacoma owners from around the world
- Post your own photos in our Members Gallery
- Access all special features of the site
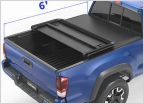 Budget friendly bed covers?
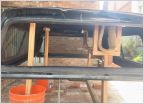 Replacement options for snugtop shell window facing the cabin?
 Mounting bike w/ Tonneau cover
 Ideas for filling shell and tailgate gaps?
 Softopper Stripped Button Screw Fix/Upgrade!
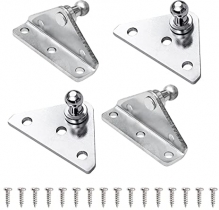
 Adding interior hooks to fiberglass topper
How to: DIY Wedge Camper
Discussion in 'Tonneau Covers, Caps and Shells' started by Ripcord, Apr 15, 2019.
Page 81 of 175
Page 81 of 175
Products Discussed in