

-
Welcome to Tacoma World!
You are currently viewing as a guest! To get full-access, you need to register for a FREE account.
As a registered member, you’ll be able to:- Participate in all Tacoma discussion topics
- Communicate privately with other Tacoma owners from around the world
- Post your own photos in our Members Gallery
- Access all special features of the site
 What do you really NEED for self overland trips
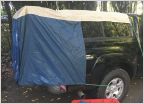 DAC tent review
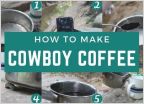 The Best Camp Coffee
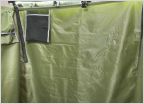 Shower Tent / Privacy Enclosure
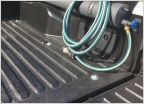 Water Storage Ideas for long duration Camping
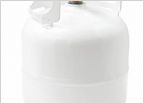 Camp stove fuel Question: Full size tank or the little store bought bottles
DIY Seat Delete Cabinet
Discussion in 'Outdoors' started by smcd355, Nov 13, 2021.


