

-
Welcome to Tacoma World!
You are currently viewing as a guest! To get full-access, you need to register for a FREE account.
As a registered member, you’ll be able to:- Participate in all Tacoma discussion topics
- Communicate privately with other Tacoma owners from around the world
- Post your own photos in our Members Gallery
- Access all special features of the site
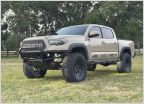 TRD Off Road Namibia Edition
 My 2018 Tacoma SR5 DCSB - Build Thread
 HugoPreston's Inferno build and BS
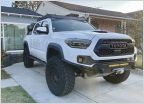 MMoreno16's 2018 Tree Hugging Hipster Cupcake Build, Adventures and BS
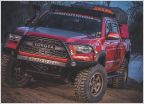 Pongo, my 2016 TRDOR, it's life stages, and travels
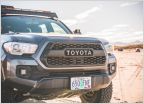 Pathunpaved's 3rd Gen DCSB
Athena
Discussion in '3rd Gen. Builds (2016-2023)' started by Athena32, Sep 17, 2022.
Page 1 of 2
Page 1 of 2
Products Discussed in


