

-
Welcome to Tacoma World!
You are currently viewing as a guest! To get full-access, you need to register for a FREE account.
As a registered member, you’ll be able to:- Participate in all Tacoma discussion topics
- Communicate privately with other Tacoma owners from around the world
- Post your own photos in our Members Gallery
- Access all special features of the site
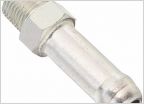 Need Help on the Rear Differential Breather Mod
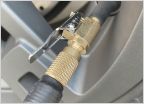 Viair 88p Hardwired
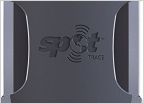 GPS Vehicle Tracker
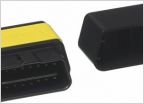 Best code reader
 Bolts welded on?
 COMPLETED 5th Gen 4Runner BBK upgrade for 2nd Gen Tacomas
How to change Air Fuel sensor - P2197 DTC Code
Discussion in 'Technical Chat' started by Bryan139, Mar 5, 2012.


