

-
Welcome to Tacoma World!
You are currently viewing as a guest! To get full-access, you need to register for a FREE account.
As a registered member, you’ll be able to:- Participate in all Tacoma discussion topics
- Communicate privately with other Tacoma owners from around the world
- Post your own photos in our Members Gallery
- Access all special features of the site
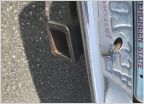 What was this rear bumper part that’s now missing?
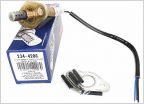 O2 sensor lead too short?
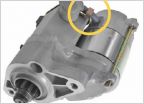 Starter troubles '96 2.4L 2WD standard
 Tail light tint?
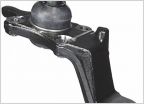 Lower Ball Joint Part Numbes
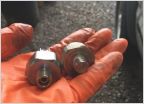 Knock sensor code P0325 & P0330
Need help replacing all 4 ball joints
Discussion in '1st Gen. Tacomas (1995-2004)' started by Bruno, Jun 20, 2012.
Page 2 of 2
Page 2 of 2


