

-
Welcome to Tacoma World!
You are currently viewing as a guest! To get full-access, you need to register for a FREE account.
As a registered member, you’ll be able to:- Participate in all Tacoma discussion topics
- Communicate privately with other Tacoma owners from around the world
- Post your own photos in our Members Gallery
- Access all special features of the site
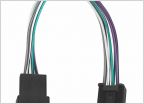 Trying to identify power and ground for '22 non JBL radio
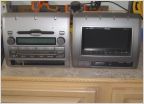 Need Help Please! On this Dash kit!
 Tweeters
 Easy way to fish USB and microphone on Gen2 doublecab?
 Amp Recommendation for 2017 SR5 Access Cab-I'm clueless??
 2012 Stereo Upgrade
3rd Gen door panel removal
Discussion in 'Audio & Video' started by Taco_mike73, Sep 12, 2020.

