

-
Welcome to Tacoma World!
You are currently viewing as a guest! To get full-access, you need to register for a FREE account.
As a registered member, you’ll be able to:- Participate in all Tacoma discussion topics
- Communicate privately with other Tacoma owners from around the world
- Post your own photos in our Members Gallery
- Access all special features of the site
 Rear diff
 Anyone looking for a Good deal on a TRD shift knob in Canada.
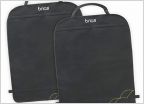 Seat protectors
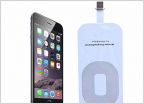 Qi charging cuts in and out for iPhone 6 or 5c
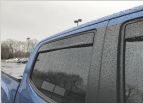 Good experience with Auto ventshades.
 Back sliding window not working
A guide on how to separate your headlights for BHLM or projector upgrade
Discussion in '3rd Gen. Tacomas (2016-2023)' started by buntcake, May 5, 2017.

