

-
Welcome to Tacoma World!
You are currently viewing as a guest! To get full-access, you need to register for a FREE account.
As a registered member, you’ll be able to:- Participate in all Tacoma discussion topics
- Communicate privately with other Tacoma owners from around the world
- Post your own photos in our Members Gallery
- Access all special features of the site
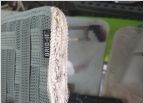 Center Console Mod - Pic Heavy
 Throwing multiple codes
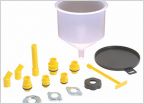 I have an air bubble in my heater core.
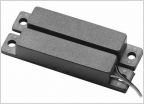 Rear slide window security
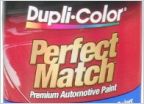 How much paint?
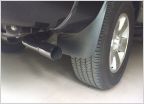 Front mud flaps...need advice
Any recent Redline hood strut install photos or tips?
Discussion in '2nd Gen. Tacomas (2005-2015)' started by SCCAKen, Sep 8, 2009.


