

-
Welcome to Tacoma World!
You are currently viewing as a guest! To get full-access, you need to register for a FREE account.
As a registered member, you’ll be able to:- Participate in all Tacoma discussion topics
- Communicate privately with other Tacoma owners from around the world
- Post your own photos in our Members Gallery
- Access all special features of the site
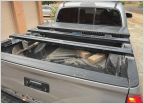 UWS Black low profile tool box and bed cross bars-Phoenix area
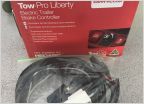 Redarc Tow-Pro Liberty Electric Brake Controller
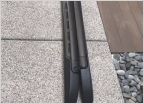 FS: OEM roof rack. $150 socal/las vegas
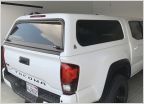 SOLD
SOLD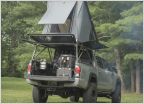 SOLD! Please remove!
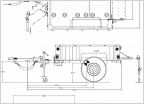 2008 M1102
Anytime Front and Rear Camera Mod
Discussion in '3rd Gen Tacoma Parts Marketplace (2016-2023)' started by Logistics91, Apr 3, 2018.
Page 27 of 88
Page 27 of 88
Products Discussed in


