

-
Welcome to Tacoma World!
You are currently viewing as a guest! To get full-access, you need to register for a FREE account.
As a registered member, you’ll be able to:- Participate in all Tacoma discussion topics
- Communicate privately with other Tacoma owners from around the world
- Post your own photos in our Members Gallery
- Access all special features of the site
 Backup Lighting Noob
 Custom Double Reverse Camera + Front Cam How-To Thread
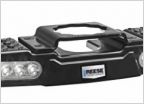
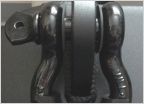 Loose shackles
 2020+ Tacoma has auto start correct?
 Do they make it?
 Amazon sequential mirror turn signal install
Audio install
Discussion in '3rd Gen. Tacomas (2016-2023)' started by Scarab, Nov 29, 2020.


