

-
Welcome to Tacoma World!
You are currently viewing as a guest! To get full-access, you need to register for a FREE account.
As a registered member, you’ll be able to:- Participate in all Tacoma discussion topics
- Communicate privately with other Tacoma owners from around the world
- Post your own photos in our Members Gallery
- Access all special features of the site
 Rear diff breather mod question
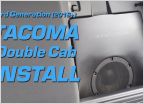 Audio OEM + 450Q Stereo upgrade for 2016 Tacoma Doublecab
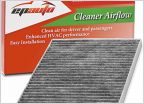 Two Cabin Filter part #s... deoderant = activated charcoal filter?
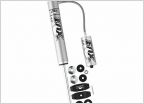 Rear shock length
 TPMS cloning and/or reprogramming
 T7 Towing Brake T harness info
Battery Negative/Ground Cable Upgrade
Discussion in '3rd Gen. Tacomas (2016-2023)' started by YSL, Nov 20, 2019.
Page 2 of 3
Page 2 of 3


