

-
Welcome to Tacoma World!
You are currently viewing as a guest! To get full-access, you need to register for a FREE account.
As a registered member, you’ll be able to:- Participate in all Tacoma discussion topics
- Communicate privately with other Tacoma owners from around the world
- Post your own photos in our Members Gallery
- Access all special features of the site
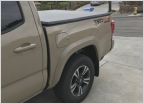 What's a good but inexpensive tonneau?
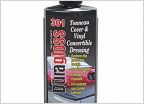 How To Clean & Restore Tonneau Cover
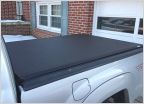 What's the best tonnea cover that won't melt or wrinkle in this heat?!
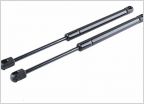 Rain Protection with Back Hatch Open
 Leer Cap Connections to Bed
 Tri fold tonneau suggestions
Bed organisation (with a shell)
Discussion in 'Tonneau Covers, Caps and Shells' started by supralight, Apr 23, 2011.


