

-
Welcome to Tacoma World!
You are currently viewing as a guest! To get full-access, you need to register for a FREE account.
As a registered member, you’ll be able to:- Participate in all Tacoma discussion topics
- Communicate privately with other Tacoma owners from around the world
- Post your own photos in our Members Gallery
- Access all special features of the site
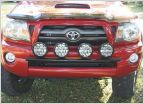 KC Hilites 130w slimlite off road light?
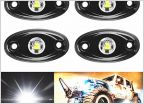 Rock lights question
 Why do I keep blowing out my CH4x4 switch?
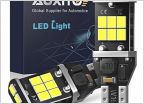 What LED reverse lights are you using?
 Dual switch install help
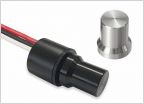 DIMMEST bulbs possible for license plate light.
Blacking Out Headlights, How to
Discussion in 'Lighting' started by spencer_hong, Jul 31, 2007.
Page 8 of 41
Page 8 of 41

