

-
Welcome to Tacoma World!
You are currently viewing as a guest! To get full-access, you need to register for a FREE account.
As a registered member, you’ll be able to:- Participate in all Tacoma discussion topics
- Communicate privately with other Tacoma owners from around the world
- Post your own photos in our Members Gallery
- Access all special features of the site
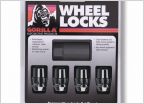 Spline Lugs TRD Beadlocks
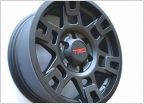 TRD Pro Sema wheels on eBay?
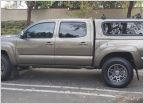 Should I upgrade from Bridgestone Dueler HL Alenza Plus to Pirelli Scorpion A/T Plus just for looks?
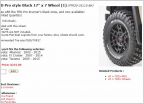 Black Lugs Question
 For those of you looking for Black 16x8 KMC Enduro
 FJ TT Wheels
Changing out a Wheel bearing! (How to)
Discussion in 'Wheels & Tires' started by battleyota, Jan 26, 2013.
Page 1 of 2
Page 1 of 2
