

-
Welcome to Tacoma World!
You are currently viewing as a guest! To get full-access, you need to register for a FREE account.
As a registered member, you’ll be able to:- Participate in all Tacoma discussion topics
- Communicate privately with other Tacoma owners from around the world
- Post your own photos in our Members Gallery
- Access all special features of the site
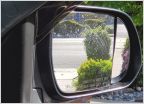 Aftermarket Blind Spot Monitor options
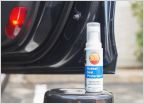 Rubber and trim dressing/treatment?
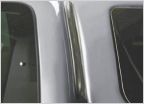 Connect shell window to cab?
 Vavoline Synthetic 75W90 for differentials and the transfer case?
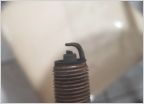 Hey all What's the best spark plug for my 4.0 TRD?
 Self tapping oil pan plug
DIY: Installing Power Inverter Inside The Truck
Discussion in '2nd Gen. Tacomas (2005-2015)' started by sytfu510, Oct 16, 2011.


