

-
Welcome to Tacoma World!
You are currently viewing as a guest! To get full-access, you need to register for a FREE account.
As a registered member, you’ll be able to:- Participate in all Tacoma discussion topics
- Communicate privately with other Tacoma owners from around the world
- Post your own photos in our Members Gallery
- Access all special features of the site
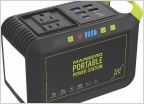 Secondary Battery Charged via Bed Outlet
 Another source for the inexpensive LRV Protecta bed mat.
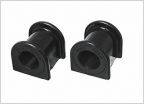 Clunk
Clunk Factory threaded inserts on rear cabin wall size help
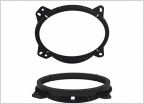 Metra adaptor for 2015 front speaker
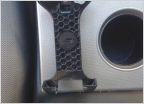 Life proof phone case mod.
headlight aiming
Discussion in '2nd Gen. Tacomas (2005-2015)' started by fibertop, Oct 18, 2009.
Page 2 of 2
Page 2 of 2


