

-
Welcome to Tacoma World!
You are currently viewing as a guest! To get full-access, you need to register for a FREE account.
As a registered member, you’ll be able to:- Participate in all Tacoma discussion topics
- Communicate privately with other Tacoma owners from around the world
- Post your own photos in our Members Gallery
- Access all special features of the site
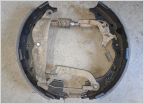 Lets talk Brakes
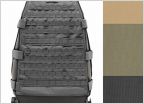 Smitty Build G.E.A.R seat covers
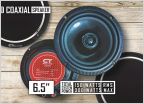 Speaker upgrade for a 2nd gen questions
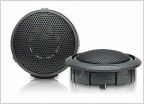 Tweeter upgrade
 No factory fog lights, Down to; Diode Dynamics vs. Baja Designs ?
 Good place to buy black out emblems?
How I wired my aftermarket seat heaters in my 2nd gen Tacoma, lots of pictures.
Discussion in '2nd Gen. Tacomas (2005-2015)' started by Singu1arity, Jul 31, 2017.
Page 5 of 5
Page 5 of 5
