

-
Welcome to Tacoma World!
You are currently viewing as a guest! To get full-access, you need to register for a FREE account.
As a registered member, you’ll be able to:- Participate in all Tacoma discussion topics
- Communicate privately with other Tacoma owners from around the world
- Post your own photos in our Members Gallery
- Access all special features of the site
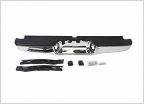 1st gen. Rear Bumper- chrome
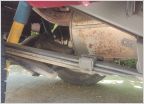 Noob questions before moving 1000 miles.
 Keeps getting worse
 Tundra brake's
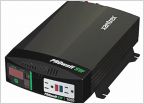 How to install power inverter 110v 2002 taco’s
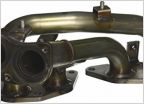 Front pipe gasket help
LCA Bushings: OEM, Energy Suspension, Whiteline
Discussion in '1st Gen. Tacomas (1995-2004)' started by alphabravo, Oct 8, 2015.
Page 13 of 15
Page 13 of 15


