

-
Welcome to Tacoma World!
You are currently viewing as a guest! To get full-access, you need to register for a FREE account.
As a registered member, you’ll be able to:- Participate in all Tacoma discussion topics
- Communicate privately with other Tacoma owners from around the world
- Post your own photos in our Members Gallery
- Access all special features of the site
 Fitting 315/70 17s on my taco
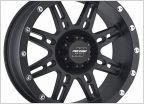
 Wheel Weights
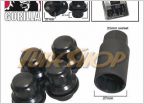 Lug Nuts
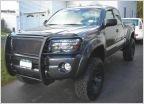 TPMS answers to question
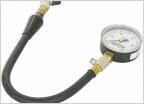 Tire Pressure Gauge Accuracy
 Superflow MV90/Smittybilt 2781 Modifications
Paintin the wheels today
Discussion in 'Wheels & Tires' started by bt08231, Jul 20, 2009.
Page 1 of 3
Page 1 of 3

