

-
Welcome to Tacoma World!
You are currently viewing as a guest! To get full-access, you need to register for a FREE account.
As a registered member, you’ll be able to:- Participate in all Tacoma discussion topics
- Communicate privately with other Tacoma owners from around the world
- Post your own photos in our Members Gallery
- Access all special features of the site
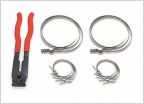 Inner steering bellows clamps
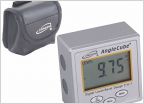 FJ Inclinometer, I want one!
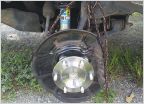 Strange "howl" coming from front wheel?
 Surround View Cameras (or adding multiple cameras)
 New Oil Filter Comparison
ramonortiz55's dual battery setup adventure and experimentation thread..
Discussion in 'Technical Chat' started by ramonortiz55, Jan 15, 2016.
Page 1 of 5
Page 1 of 5


