

-
Welcome to Tacoma World!
You are currently viewing as a guest! To get full-access, you need to register for a FREE account.
As a registered member, you’ll be able to:- Participate in all Tacoma discussion topics
- Communicate privately with other Tacoma owners from around the world
- Post your own photos in our Members Gallery
- Access all special features of the site
 Trailer camera
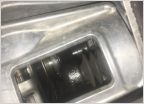 6MT owners question. Possible Clutch drag
 Redline 75W-85 good to go?
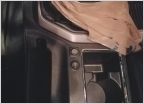 Finally completed ditch light install and I love them!
 Hacking 2016 backup (reverse) camera to record?
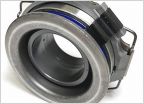 2016 MT Throw Out Bearing Recommendation
REDARC Tow-Pro Elite (stealth brake controller install)
Discussion in '3rd Gen. Tacomas (2016-2023)' started by TacticalTac0, Aug 13, 2016.
Page 1 of 3
Page 1 of 3

