

-
Welcome to Tacoma World!
You are currently viewing as a guest! To get full-access, you need to register for a FREE account.
As a registered member, you’ll be able to:- Participate in all Tacoma discussion topics
- Communicate privately with other Tacoma owners from around the world
- Post your own photos in our Members Gallery
- Access all special features of the site
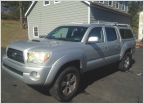 Operation Taco- I finally have one!
 Bed rail mod help
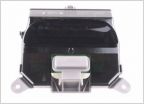 Any cool aftermarket gadgets to replace the temperature/compass display?
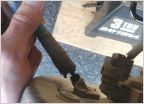 Weak parking brake after new install
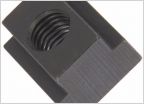 Bed Rail Attachments - T-Slots and Knobs plus Tie Down and Fishing Rod Holder
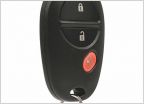 '07 SR5 - Key Fob? Keyless entry?
Relentless Tailgate Reinforcement DIY
Discussion in '2nd Gen. Tacomas (2005-2015)' started by ginga, Nov 18, 2014.
Page 1 of 2
Page 1 of 2


