-
Welcome to Tacoma World!
You are currently viewing as a guest! To get full-access, you need to register for a FREE account.
As a registered member, you’ll be able to:- Participate in all Tacoma discussion topics
- Communicate privately with other Tacoma owners from around the world
- Post your own photos in our Members Gallery
- Access all special features of the site
 Need to Seal Open/Unused Fog Light Connectors?
 A better crimper for non-insulated terminals?
 Hella 500 bulb replacement?
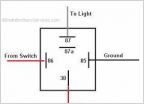 Wiring in switches and how to
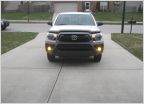 Yellow Fog Frustration
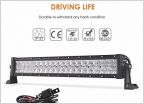 Best light bar?
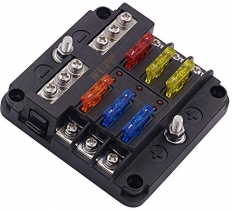
Show off your aux fuse panels.
Discussion in 'Lighting' started by Newlife, Dec 29, 2013.
Page 44 of 94
Page 44 of 94