-
Welcome to Tacoma World!
You are currently viewing as a guest! To get full-access, you need to register for a FREE account.
As a registered member, you’ll be able to:- Participate in all Tacoma discussion topics
- Communicate privately with other Tacoma owners from around the world
- Post your own photos in our Members Gallery
- Access all special features of the site
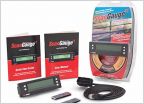 ScanGauge II or something else?
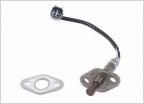 Confused about upstream o2 sensor
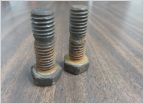 Zinc Plating OEM hardware
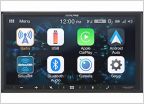 Do double din Alpine headunits fit 1st gens?
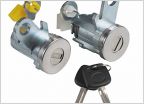 2001 Tacoma. Driver's side key won't insert into the lock.
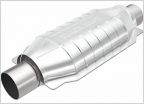 Catalytic converters?
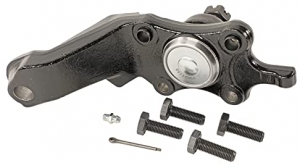
Steering and Suspension overhaul thread
Discussion in '1st Gen. Tacomas (1995-2004)' started by Rschap, Jun 30, 2015.
Page 1 of 3
Page 1 of 3
Products Discussed in