-
Welcome to Tacoma World!
You are currently viewing as a guest! To get full-access, you need to register for a FREE account.
As a registered member, you’ll be able to:- Participate in all Tacoma discussion topics
- Communicate privately with other Tacoma owners from around the world
- Post your own photos in our Members Gallery
- Access all special features of the site
 PN for switch blanks under HVAC?
 Just bought an passport 9500ix radar detector
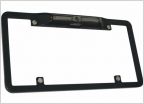 Looking for Back-up camera suggestions.
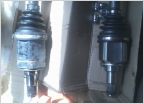 GSP CV shaft too short!!! HELP ASAP
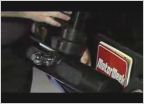 Rear Bumper Stumper
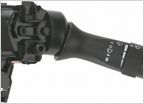 Change to Intermittent Wipers
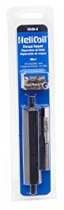
time chain cover stud doesn't hold threads (socket stripped)
Discussion in '2nd Gen. Tacomas (2005-2015)' started by foampile, Sep 10, 2015.
Page 2 of 3
Page 2 of 3