

-
Welcome to Tacoma World!
You are currently viewing as a guest! To get full-access, you need to register for a FREE account.
As a registered member, you’ll be able to:- Participate in all Tacoma discussion topics
- Communicate privately with other Tacoma owners from around the world
- Post your own photos in our Members Gallery
- Access all special features of the site
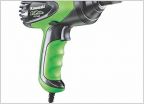 Recommend an electric impact wrench
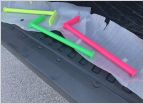 Aesthetic, functional fasteners for mounting powdercoated closet rods?
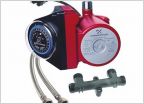 Calling the plumbers in the crowd
 Last Ditch Effort Lug Nut Remover Worth it’s Weight!
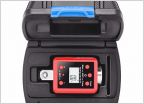 Digital torque adapter
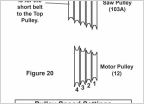 7/8" bore 4-step pulley... Unicorn?
Workbench
Discussion in 'Garage / Workshop' started by T Fades, Oct 10, 2013.
Page 4 of 4
Page 4 of 4


