

-
Welcome to Tacoma World!
You are currently viewing as a guest! To get full-access, you need to register for a FREE account.
As a registered member, you’ll be able to:- Participate in all Tacoma discussion topics
- Communicate privately with other Tacoma owners from around the world
- Post your own photos in our Members Gallery
- Access all special features of the site
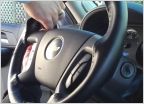 Replacing steering wheel leather
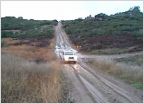 What muffler on Borla cat back?
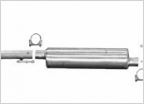 New exhaust system
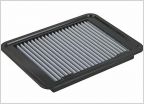 Correct AFE Pro Dry S filter for a 2008 4.0 V6
 Remedy Leaking Valve Guide Seals
Snorkel Installation: 2nd Gen SS135MOD & 1st Gen SS170HF
Discussion in 'Performance and Tuning' started by misc, Feb 20, 2011.
Page 1 of 41
Page 1 of 41

