

-
Welcome to Tacoma World!
You are currently viewing as a guest! To get full-access, you need to register for a FREE account.
As a registered member, you’ll be able to:- Participate in all Tacoma discussion topics
- Communicate privately with other Tacoma owners from around the world
- Post your own photos in our Members Gallery
- Access all special features of the site
 Ajmogen's Hypermiling Tacoma
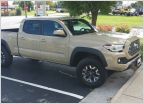 2017 Tacoma TRD Off Road running board questions.......
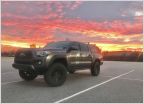 PvilleJohn's Good to be Back Build Thread :)
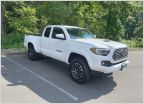 Sh!ft's TRD Sport 6MT |Adding Boost After Engine Failure..|
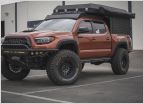 @Seekoutbeauty - +3.5 2017 TRD Pro - Barcelona Red
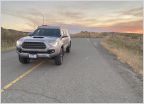 Vicali's 2017 TRD Sport, Silver
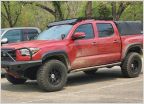
CAG Gonzo's Tacoma of Fire Build and generally specific BS
Discussion in '3rd Gen. Builds (2016-2023)' started by CAG Gonzo, Apr 7, 2019.
Page 1 of 2
Page 1 of 2
Products Discussed in


