

-
Welcome to Tacoma World!
You are currently viewing as a guest! To get full-access, you need to register for a FREE account.
As a registered member, you’ll be able to:- Participate in all Tacoma discussion topics
- Communicate privately with other Tacoma owners from around the world
- Post your own photos in our Members Gallery
- Access all special features of the site
 Detailed oil filter instructions
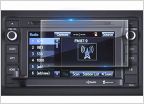 Screen coating coming off radio
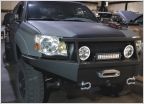 What to do with old OEM headlamps
 Does anyone know if the top of the billstein 4600 stud is hex or sae?
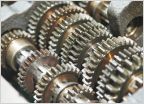 What Transmission Oil Should I Request?
Need Input On Fog Light Switch Mod/Replmnt
Discussion in '2nd Gen. Tacomas (2005-2015)' started by Mt.Boy, Oct 27, 2012.
Page 1 of 2
Page 1 of 2


