

-
Welcome to Tacoma World!
You are currently viewing as a guest! To get full-access, you need to register for a FREE account.
As a registered member, you’ll be able to:- Participate in all Tacoma discussion topics
- Communicate privately with other Tacoma owners from around the world
- Post your own photos in our Members Gallery
- Access all special features of the site
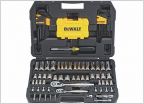 Post your basic/favorite tool box that you use for a quick fix or for basic maintenance.
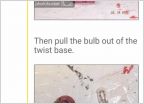 List of Dash/Interior lights?
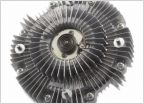 Aisin Fan Clutch
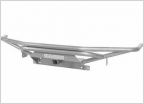 Front receiver hitch
 Refinishing Stock 2000 Alloys
 5vz-fe idle issues
01-04 valence 8" led bars in turn signal spot +20"+dtrl's with mesh inserts[installs]
Discussion in '1st Gen. Tacomas (1995-2004)' started by NightProwler, Nov 18, 2016.

