

-
Welcome to Tacoma World!
You are currently viewing as a guest! To get full-access, you need to register for a FREE account.
As a registered member, you’ll be able to:- Participate in all Tacoma discussion topics
- Communicate privately with other Tacoma owners from around the world
- Post your own photos in our Members Gallery
- Access all special features of the site
 Knock Sensor Replacement
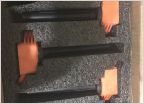 Ripp coils are junk
 Best way to black out taillights?
 Body Armor Rock Steps
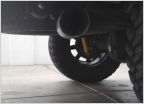 Dual exaust video
Front Diff and Transfer Case Oil Change Howto
Discussion in '2nd Gen. Tacomas (2005-2015)' started by jspadaro, Mar 24, 2011.
Page 37 of 73
Page 37 of 73
Products Discussed in


