

-
Welcome to Tacoma World!
You are currently viewing as a guest! To get full-access, you need to register for a FREE account.
As a registered member, you’ll be able to:- Participate in all Tacoma discussion topics
- Communicate privately with other Tacoma owners from around the world
- Post your own photos in our Members Gallery
- Access all special features of the site
 Eonon 10.1" Android 13 HU with volume knob-Plug-n-Play (almost)
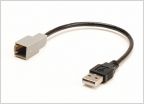 USB EXTENSION part #
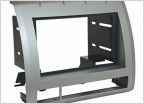 Dash kits?
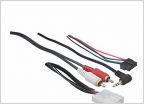 Help! I'm in middle of install and have extra connector
 Morel Tempo Ultra 692 MKII
RFRM Bussman Fuse Box & Relays - SPOD? HA!
Discussion in 'Audio & Video' started by skygear, Jul 1, 2014.
Page 2 of 5
Page 2 of 5


