

-
Welcome to Tacoma World!
You are currently viewing as a guest! To get full-access, you need to register for a FREE account.
As a registered member, you’ll be able to:- Participate in all Tacoma discussion topics
- Communicate privately with other Tacoma owners from around the world
- Post your own photos in our Members Gallery
- Access all special features of the site
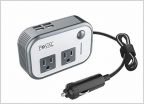 First gen 12v outlet question
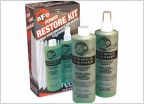 AFe Pro Dry cleaner solution
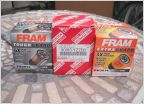 Toyota Oil Filter (Made in Thailand) vs. the competition........
 Adding Backup Camera Display
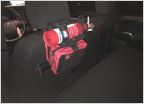 DIY Headrest Fire Extinguisher/Accessory Mount
Cheap/Free Mods
Discussion in 'Technical Chat' started by piercedtiger, Dec 28, 2007.
Page 96 of 124
Page 96 of 124


