

-
Welcome to Tacoma World!
You are currently viewing as a guest! To get full-access, you need to register for a FREE account.
As a registered member, you’ll be able to:- Participate in all Tacoma discussion topics
- Communicate privately with other Tacoma owners from around the world
- Post your own photos in our Members Gallery
- Access all special features of the site
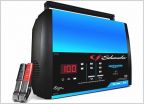 What battery charger are you using?
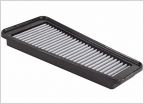 Air filter replacement
 3rd Gen Manual Transmission Drain and Fill Plug Gaskets
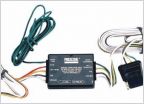 Cruise control quit working after trailer wire harness installed
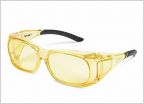 Safety glasses
 Has anyone cut open a YZZG2?
How To: Spark Plug Change (1 GR-FE)
Discussion in 'Technical Chat' started by chris4x4, Mar 16, 2009.
Page 1 of 116
Page 1 of 116
Products Discussed in


